Posted on

Top 10 Tips for a safe and successful ascent of Mount Kilimanjaro

After climbing Kilimanjaro over 35 times Ian Taylor offers up his Top 10 Tips for a safe and successful ascent of Mount Kilimanjaro.

World Leader in Running Quality Kilimanjaro Trips

Ian Taylor Trekking have helped over 3,500 people to the summit of Mount Kilimanjaro with great success. They are a world leader in offering quality, well run climbs up Kilimanjaro. They have developed a service second to none, providing amazing food, top chefs, Kilimanjaro’s Number 1 Guide and Mountain hard Dome Tents and Trango 4 tents for your comfort. There amazing staff have all been working with them for 10 years now. They will help you achieve your goal of standing on the roof of Africa and get down safely.

The Best Success Rates on Kilimanjaro

They have 95% success rate on their 8 day treks.  Ian Taylor Trekking have success rates second to none. Check out our Kilimanjaro page and feel free to contact Ian directly.

Link to Kilimanjaro page: https://iantaylortrekking.com/trek-africa/climbing-kilimanjaro-lemosho-route/

Link to Contact Ian Directly: https://iantaylortrekking.com/contact-us/

Before you read our Top 10 Tips for a successful climb of Mount Kilimanjaro, remember that around 50% of people make it to the summit each year. Mainly because people chose poor acclimatization schedules and fail to train correctly for the climb. We highly recommend you chose 8 day Lemosho route Climb. We had 100% success on most of our Kilimanjaro treks last year.

1). Choose the Right Route for your Kilimanjaro Climb

The most important piece of advice I can give you is having a minimum of 8 days on the mountain. If you want to be safe, successful and have the best experience possible. You need an 8 day climb. There are officially seven routes up the mountain, however I would only recommend two of those.  One of the biggest problems on Kilimanjaro is people trying to go up the mountain way to quickly, not allowing themselves the necessary time to acclimatize to the low levels of oxygen.  I would never step foot on Kilimanjaro with less than a seven day trek and 8 days is best.  At 5,895m (19,341feet), Kilimanjaro’s summit is at a high level of altitude and one not to be underestimated. The reason many people choose a shorter trek on Kilimanjaro is because of the costs associated with it.  For every extra day you spend on the mountain, the cost go up quite a bit, however, when you are signing up to an adventure like this, in my mind, I would want to do everything possible to be successful and fully enjoy my time on the mountain.  If you do not reach your goal because you wanted to save a couple hundred dollars and only do a five day trip, it will cost you a lot more to come back to Tanzania to try again.  So, in my opinion, take the 8 day trip up the Lemosho Route. The Lemosho route will give you a safer and more enjoyable experience to high altitude.

2). You Need Specific Training for Kilimanjaro Adventure

 I know that Kilimanjaro is considered a trekking peak, and you do not need any technical training to complete this climb, but that does not mean that you do not need ANY training. Kilimanjaro is a peak that is accessible for most reasonably fit individuals, but you do have to physically prepare your body if you want to fully enjoy your adventure.  I would recommend that you spend at least four days a week doing some sort of intense physical exercise for approximately three to four months prior to your starting date of your climb.  Personally, I would have spent at least four days a week either walking up hill on a treadmill or walking on a stair-master (stair master is best) for one hour+ building up to 10kg (22lbs) in a backpack on my back.  I have always been lucky and lived in a place where I had access to hills to train on the weekends, and I found that this was the greatest training I could get for my climb of Kilimanjaro.  I would spend at least one day a week out in the hills or mountains for at least a 4 hour walk and building up to 7 hours in a row.  I cannot stress enough how important this was to my training. Having built the muscle strength needed in the hills, when things got tough during the summit night on Kilimanjaro, I had the muscle memory needed to complete the task.  If you do not have access to mountains or hills to train on, you can always add extra weight to your backpack and just do longer walks on the treadmill/ Stair master and in the gym. Contact us and learn more about what we recommend.

3). Be Comfortable with Wilderness Travel

Mentally prepare.  Depending on your level of comfort with the outdoors, you may need to prepare yourself for life on the mountain. Luckily, I am a lover of the outdoors and very comfortable with the mountain life, including camping, bugs, dirt, baby wipe showers, and going to the toilet outdoors!  However, for some who are more comfortable with the four seasons than a campsite, you may need to prepare yourself for what is to come. All accommodation on our Kilimanjaro trips is camping, and sleep is essential when you are on the mountain, so you need to be prepared for 6-8 nights of camping.  Obviously, showers are non-existent on the mountain, so the only way to keep you clean is to use baby wipes and a bowl of warm water each day. You do need to prepare yourself for these things, as you do not want to arrive on the mountain and have higher expectations and be disappointed. We do provide chemical toilets on our climbs.

4). Make Sure You Have the Right Clothing and Gear

 Make sure you have the right clothing  There are many pieces of gear and clothing that are essential for our trip on Kilimanjaro, and I am not going to go through every piece of gear you need for the trip, I am just going to highlight some of the specific pieces that I found to be essential.  First of all, your feet are one of the most important parts of the body to take care of when trekking.  Never skimp on footwear when you are going on a trip like Kilimanjaro. Buy a good, sturdy, waterproof pair of trekking boots and make sure that you break them in before you leave for Africa. Number two, buy yourself a good down jacket with with more down. LEARN MORE.  Remember that every brand and style is different and if you are questioning your down coat, make sure to ask our advice before the trip as this piece of gear can be essential during the cold nights and mornings and summit night on the mountain.  Number three, having both a platypus (i.e, Camel bak brand) water carrier and a Nalgene style plastic bottles.  Drinking water is essential on the mountain (See Tip #5) and lower down on the mountain I find that having a Camel bak helps you to drink water without the use of your hands, which usually makes you drink more water as you do not have to stop to get the bottle out and drink water.  With that said, a Camel bak is likely to freeze on summit night and higher up on the mountain, and if you do not have an alternative water

bottle like a Nalgene, you will not have any access to water.  Now those three tips are obviously not the only gear you will need on the trip, but these are three essentials that I would make sure to have in your kit bag. CLICK HERE for our packing video.

LEARN MORE: https://iantaylortrekking.com/blog/all-you-need-to-know-about-climbing-kilimanjaro/

CLICK HERE: https://iantaylortrekking.com/blog/packing-for-your-kilimanjaro-climb-with-ian-taylor-trekking/

5). Hydration Is Critical for your Kilimanjaro Climb

Hydration is so important while climbing Kilimanjaro   If there is one tip that I can give you while on the mountain, it is to make sure that keeping hydrated is one of your top priorities.  At higher levels of altitude, your body will dehydrate much quicker than it will at sea level, and you will have to make sure you are drinking plenty of water.  I would recommend that you are drinking around five liters of water throughout the day while on the mountain.  This is where the different types of water bottles come in handy.  My routine on the mountain with regards to water is generally the same daily.  Every evening, before I go to bed, I would ask the kitchen staff to fill up my Nalgene bottle full of boiling hot water and that bottle would immediately go into my sleeping bag to keep my feet and body toasty in my tent while I sleep, and then, as that water had been boiled, I would be able to wake up in the morning and immediately begin drinking.  I would hope to finish that bottle before we left for the day’s trek, then try and drink another two liters while walking and another two liters at least when we get to camp that afternoon/evening.  This process of drinking five liters of water a day can be daunting to many, but I find it to be essential to people’s success on the mountain.

6). Be Aware of AMS or Signs of Altitude Sickness

Don’t be afraid of a little Headache.  You should be taking diamox, 125mg in the morning and 125mg in the afternoon, unless your doctor says otherwise. There are some alternatives to taking diamox. I hate to say it, but it is almost inevitable that you will get some sort of headache at some stage on the trip. Unfortunately, I suffer from bad headaches at altitude and have had to learn ways to manage them and not let them ruin my experience.  One of the best ways to combat these headaches is by listening to the advice of Tip 5; always drink plenty of water while on the mountain.  One of the greatest causes of headaches on the mountain is due to dehydration, so drinking water can greatly help to eliminate or lessen your headaches.  You should also have Ibuprofen with you. It will aid sleep, inflammation and proven in low oxygen environments. I highly recommend taking Ibuprofen at high altitude.  These headaches are completely normal to experience at altitude and they are not something to be too afraid of, however if these headaches get very extreme and limit your ability to think straight, eat, sleep, or walk in the mountains, you may need to seek medical attention.

7). Your Walking Pace and Maintaining Lower Heart Rates is Important

Slow and steady wins the race. When taking on a challenge like Kilimanjaro, or any long trek/climb, you have to remember that it is a marathon, not a sprint.  Acclimatization to the low levels of oxygen in the mountains requires you to take your time, to slowly get your body used to lack of oxygen.  This is absolutely key to your success on the mountain. There is never a time on Kilimanjaro where you should need to walk at a fast pace.  During the majority of the trek (excluding summit night), you should only be walking at a pace that you can carry on a conversation with others, without feeling too much exertion physically.  Obviously, there are tougher sections throughout the trek where you may need to stop talking and catch your breath, however you always want to try and keep your pace to a snail’s pace, not a rabbit’s!  On the summit night, this will be different.  You will still be walking at a very slow pace, taking a rest step in-between each step, however, it is highly unlikely that you will have the energy or the extra breath to carry on a conversation.  During my summit of Kilimanjaro, I just keep reminding myself to take deep breaths with each step in through the nose and out through the mouth.  This keeps my pace at a regulated speed and keeps my mind focused on getting in that much needed oxygen to succeed.

8). Bring Some Snacks for the Summit Attempt

Bring some summit treats. For many people, including myself, it can be very difficult to eat at altitude.  Even with all of the physical energy you are exerting, for some reason, food does not always sound good when you are at altitude. I am not sure if it is nerves of the unexpected for me or the altitude at all, but forcing myself to eat on the mountain can be a daunting task.  The main thing to remember regarding this is that you are burning a TON of calories while trekking on Kilimanjaro and your body needs to replenish these calories if you want the best possible chance of summiting.  Personally, I use Clif shot blocks along with some trail mix on summit night. It is so important to eat, whatever it may be, to get in these much needed calories.  This is why I always pack a few extra goodies in my bag before leaving home!  Having some familiar food favorites on the mountain can be just the push you need on tough days to get through them.  I have been known to bring anything from protein bars to peanut butter in my pack and I always have a special chocolate bar stashed away for the summit night, when I might need an extra kick!  Don’t let this scare you into thinking that you will not have enough food to eat on the mountain”¦ this is far from the reality. You will be overwhelmed by the plethora of food on offer every meal, everything from pancakes to soup to maybe a special treat of chicken wings!  There is always plenty of food to choose from on the mountain, but when your tummy is having a hard time with the altitude, those familiar snacks may be all you can get down.  So remember, within reason (you definitely do not want to be carrying too much un-necessary weight up the mountain), bring yourself a little treat when for you may need it the most!

9). Keep Covered Up From The Powerful Sun

Stay out of the sun whenever possible. The higher you go up in altitude, the lower the levels of UV Protection you are getting. Some days on Kilimanjaro, the sun can be brutal, giving you solar radiation from its powerful rays. Staying out of the sun is not only good for minimizing those pesky wrinkles and avoiding skin cancer, but it can also improve your chance of summiting.  When you get sunburned you become dehydrated, and back to the tip of keeping yourself hydrated, being dehydrated can cause all sorts of problems on the mountain and eventually limiting your chance of success.  Of course, when you are walking during the day, there may be no cover from those potent rays, but you need to take as much care as possible to minimize those harsh emissions.  The first way to protect yourself if by applying a factor 50 sunblock throughout the day.  The mountain is not the place to top up that holiday tan you are hoping to bring back to work with you on your return home, when you get back to Arusha after the climb, you can do as you please, but while on the mountain, you need to block those harmful rays from your skin.  The second way of protecting yourself is to always wear your goofy looking, yet extremely important, sun hat.  Get yourself a light weight, brimmed sunhat to wear on days when the sun is shining and you will save yourself from some of the dreaded headaches you so adamantly want to avoid.

10). Come Prepared For The Adventure Of a Lifetime

Remember you are on holidays, enjoy yourself!  The most important thing to remember is that you are on vacation, relax, have an open mind, and enjoy yourself!  There is always a lot of spare time when on a trekking trip like Kilimanjaro.  You generally walk anywhere from 4-6 hours a day, with the exception of summit day which is 14 hours, and therefore have plenty of time when you arrive in camp to relax, rest, and have a laugh with your fellow trekkers.  It is important to have this time throughout your journey as they help to keep you positive and relaxed, instead of nervous and tense.  You also have to keep in mind that you are entering a very different environment than you may be used to when going to Tanzania.   Things may not be done in the same manner as you may be used to at home, by no means does this imply that things are done wrong there, however they are just different. You must always keep an open mind and remember the fact that there will be cultural differences along the way and to respect those who are there to help us reach our goals!

Climb Kilimanjaro with Experts

These are just our top 10 tips for a successful climb of Mount Kilimanjaro I have to assist you along the way. If you are interested my TOP 50 TIPS for climbing Kilimanjaro and would like to sign up for one of our trips on offer, get in touch today.  You will receive a full 45 page dossier, outlining all the information you will need on your journey to the top of Africa! 

Posted on

Glamping, Camping, & Luxury Tents

Glamping & Camping

Interested in Glamping, Camping, and Luxury Tents? Discover the Nordisk range of cotton tents? Glamping is all about glamorous camping – it is all about bringing the luxury of a hotel room into the wild and wonderful outdoor environment. And the fancy camping style is more popular than ever. Glamping has spread out into the entire world. Weddings with glamping options as accomodation for guests is the new chic! Connect with nature, the outdoors and your free spirited soul.

This fabulous cotton castles provide spacious accommodation and a comfortable interior climate at base camp, when car camping or on the family holiday. Made with Nordisk Technical Cotton for superior weather protection and breathability.

Scandinavian design from Denmark

Nordisk is a Danish company designing and producing outdoor equipment for both extreme performance and leisure use. The aesthetics of Nordisk is rooted in the minimalist Scandinavian design tradition, and every tent, mat , and sleeping simple yet functional, made from cutting edge innovative and technical materials. Nordisk has more than 100 years of experience and more than 1000 years of proud Nordic legacy. Discover you next adventure!

Posted on

Covid-19 Hikes

Covid-19 Hikes

With kids off school amidst Covid-19 fears, businesses closed, and many Irish and visitors alike with little options for entertainment for St. Patrick’s celebrations we are starting to see a surge in parks across the city and country. Social distancing is being put to the test or simply ignored as families and walkers file onto the beaches and into the green spaces. Perhaps it’s time to try to discover spaces that can accommodate those seeking an alternative to solitary isolation and craving a breath of fresh air. With this in mind, I’ve put together a simple sample of Wicklow trails for those not familiar with the mountains on Dublin’s doorstep with plenty of Covid-19 social distancing available!

1: The Spinc Hike – Glendalough

Address: Glendalough National Parks, Laragh Glendalough

Description

The Spinc ridge overlooks the spectacular Glendalough Valley. An arduous climb is rewarded with breathtaking views not just of the Glenealo Valley but as you climb high the stunning vista over the Wicklow Uplands opens out around you. Find your map here.

Grade: Strenuous, route is marked with white arrows
Distance: 9km
Estimated time: 3hrs 30mins
Total height climbed: 380m
Highest point: 500m
Terrain underfoot: rocky trail, boardwalk, forest roads.
Suitable for: Well equipped with reasonable fitness

Notes: high mountain route, exposed to the weather, proper footwear & rainwear required, dogs on leads at all times, dangerous exposed cliffs- do not leave the trail.

How to get to start point:

Upper Lake Car Park Glendalough

2: Forest Walk Trooperstown Woods

Address: Forest Walk Trooperstown Woods, Laragh Glendalough

Description

Trooperstown Forest is easy to access is a great easy trail suitable for families. Drive in along the road which will bring you to a car park beside the river, your walk starts here. Cross over the bridge and take the forest road leading to the left, this then branches as you take the route to the right and uphill. A climb will bring you to the top of the forest with amazing views over the Wicklow Mountains and into Glendalough Valley. Descend along the wide road to the start point. You can do this walk in either direction. See your map here.

Grade: Easy , the route is not marked.Distance: 2.5km
Estimated time: 1hr
Total height climbed: 100m
Highest point: 240m
Terrain underfoot: Forest trail and paths
Suitable for: families etc, steep uphill sections

How to get to start point: Trooperstown Forest

3: Djouce Woods Hike

Address: Djouce Woods, Kilmacanogue

Description

The trail can be started in either of the car parks on the Long Hill but the lower car park is generally the most popular. Views of Powerscourt Waterfall, Sugarloaf, Wicklow Mountains all await you on this scenic walk. See your map here.

Grade: Moderate, the route is marked with Blue markers.
Distance: 4.5km
Estimated time: 1hrs
Total height climbed: 100m
Highest point: 410m
Terrain underfoot: Forest tracks and paths
Suitable for: families.

Notes: parts of the route are exposed to the elements, rainwear and proper gear is recommended.

How to get to start point: Long Hill car parks.

  • GPS FOR START POINT: 53.155945,-6.186872
  • Nearest public transport is to Enniskerry by Dublin Bus. www.dublinbus.ie
Posted on

Adventure Centre Principles for Safe Operations

Adventure Store - Safety Culture

Founding principles for a Strong Safety Culture:

Operators that have a positive safety culture driven by committed leaders

A positive safety culture:

Safety culture should be the first principle upon which all others are founded. It is characterised by an open and overt commitment to safety. This should occur at every level of an organisation. It relies upon leaders promoting and adhering to good safety practices and leading by example consistently. Organisations with a positive safety culture are characterised by communications founded on mutual trust. Likewise, there should also be shared perceptions of the importance of safety. This creates confidence in the efficacy of preventive measures.

Operators have a safety management system (SMS) relevant to their operation:

Safety management system can be defined as a coordinated and comprehensive set of processes specifically designed to optimise safety performance. An SMS covers safety across all aspects of the organisation and includes provisions for recruitment, training, and communication. Furthermore, it should also cover well documented and clear standard operating procedures, internal and external audits, consistent safety reporting, incident reporting, and emergency action plans. An SMS addresses the potential for both systemic weaknesses and active operational failures.

Operators have competent staff:

Staff competency: Adventure Centres ensure staff have appropriate experience supported by relevant training and qualifications. Induction training is followed by ongoing training at a frequency and depth that is consistent with the nature of the activity. The correct balance of experienced to less experienced staff is consciously managed.

Operators communicate risks and responsibilities:

Risk and safety information to clients prior to undertaking the activity is an important aspect of client safety and offers some protection from possible insurance claims. Clients are provided with appropriate risk and safety information in a risk acknowledgement form or disclaimer that is tailored for the activity. Information is delivered so clients are clear of the risks and their responsibilities in helping mitigate them. Client information can be delivered in writing, verbally, pictorially or via a combination of mediums. A client signature acknowledging a briefing has taken place is essential.

Operators have well maintained equipment that is fit for purpose:

Well maintained, fit for purpose equipment and/or infrastructure is subject to regular review under the SMS framework. It is inspected, maintained or replaced at intervals that ensure it remains fit for purpose and suitable for commercial delivery of the activity.

Operators have an external assessment before commencing operations:

Initial external assessment completed by an independent third party appropriately qualified to assess and approve the type of activity being undertaken is of fundamental importance. Its primary function is to assess the SMS and provide operators with advice and support. Is the SMS comprehensive, clear, workable and tailored correctly for that activity?

Operations have ongoing external assessments:

Ongoing external assessments are used primarily for verifying compliance with approved standards, procedures and/or national standards where available. As with the ‘initial’ audit, they assess the relevancy and effectiveness of the SMS and provide advice and support to operators.

Operators share safety information:

Exchange of safety information is valuable to the industry as a whole and offers protection to all adventure centres. Organisations make a conscious and formalised effort to share safety information (including lessons learned) with others while externally seeking information that may strengthen their own safety provisions. Commercial interests are pushed aside in the interests of achieving better safety outcomes through shared learning.

Posted on

Managing Equipment in Outdoor Centres

Managing Equipment in Outdoor Centres - A close up of a bicycle - Climbing Hardware

An activity centre, outdoor centre or climbing walls safety equipment must be appropriate and in good condition to ensure the safety of both staff and clients. 

Good practice includes appropriate equipment selection, regular checks of gear, scheduled maintenance, up to date records and retirement processes.

Emergency equipment must be included in these processes, however for good practice advice specific to emergency equipment, including communication systems. Emergency equipment must be sufficient for the size of the group and suitable for dealing with the operation’s emergency scenarios as identified in risk management processes. It must also meet established good practice standards for the activity you are providing. Rescue from Height training with a prepared set of emergency rescue equipment is a vital part of any aerial activity such as climbing walls or aerial trekking.

Selection

It is important to check industry standards when deciding what equipment to use and to seek advice from trained professionals.

  • Consider activity set-up and operation, all your identified emergency scenarios, and build in contingency for broken equipment.  
  • Remember that safety equipment often includes warm clothing in winter and sunscreen in summer.
  • Sufficient quantity and, where relevant, a range of sizes is important.  Remember gear specifications and guidelines when dealing with large clients.
  • Equipment should be used according to manufacturer’s instructions – consider this carefully when making selections. See Petzl range of adventure centre equipment here.
  • Make sure the right staff with right knowledge, expertinece, and training are involved in the selection process (consider using external experts).

Continual checks & Good Record Keeping

  • Check equipment before and during use to ensure it is in safe working condition – don’t solely on scheduled maintenance or inspection programmes. A visual check pre activity should be carried out by all instructors and safety staff.
  • Damaged/unsuitable equipment should not be used and must be removed from use and isolated e.g. clearly marked ‘not safe for use’ or put in an agreed ‘out of service’ area
  • Record or report damaged or missing items in a way that prompts their timely replacement or repair. Involve staff in this process to ensure accountability.
  • Use equipment logs to help encourage checks, i.e. sign equipment out as fit for purpose before use and sign in on return. Use a system such as Papertrail for digital PPE record keeping
  • Remember to check the condition of equipment that you have hired before use. 

Staff equipment

  • Where the equipment’s primary function is safety, suitable PPE equipment must be provided for staff to use, e.g. helmets, harnesses, cows tails etc.
  • Staff can choose to supply their own clothing and equipment for reasons of comfort and convenience, but an employer can’t require this of them.
  • When staff choose to supply their own safety clothing and equipment, you must be sure that it is in suitable condition and meets industry good practice standards. Ensure that staff equipment checks are recorded. 

Use, inspection and equipment maintenance

Correct use, inspection and maintenance of equipment will help ensure it’s not the cause of incidents. Therefore:

  • ensure that SOP’s specify the safety equipment required for the activity. This should included operation of the activity as well as emergency equipment
  • train staff in the use of standard and emergency equipment and record the training in a log book – supervise staff until they are able to use equipment safely
  • ensure staff know they are individually responsible for ensuring that equipment is in good condition by doing thorough checks, raising concerns and requesting feedback and involvement of staff
  • appoint someone with appropriate technical and professional expertise to take responsibility for equipment
  • carry out maintenance in accordance with the manufacturer’s recommendations. All manufacturers have guidelines for equipment use. See Petzl PPE Checklist and PPE Inspection Procedure.
  • schedule in-depth inspections and include regular equipment checks in SOP’s e.g. prompts for pre and post use checks in trip paperwork or pre/post activity
  • in-depth inspections should include a check of equipment logs for any notes/concerns, and result in updated equipment records, including what is due for replacement. Request feedback from staff
  • correct storage and good everyday equipment care are essential – a strong safety culture helps to ensure this will happen and induction of new staff is an opportunity to keep this alive
  • ensure you will know if the equipment you use is recalled by a manufacturer – connections with outdoor sector organisations, social media pages of manufacturers, and other operators will help with this. 

Record keeping

Recording the purchase, use and maintenance of equipment helps to ensure it’s life-cycle is suitably monitored. It also develops an increased understanding of its expected lifespan specific to your centre, climbing wall, or operation.

Develop a maintenance and inspection schedule and use tools such as equipment logs as a system to trigger equipment replacement. 

When establishing a record keeping system ensure that you record details such as:

  • equipment type
  • serial number
  • date purchased
  • any identifying markings
  • intended usage and usage restrictions
  • retirement information

A variety of systems can be used to record and track equipment information including:

  • labelling with company name and purchase date
  • individual identifiers such as coloured tags. see Tough Tags
  • a batching approach (record the number of items in the batch and inspect them all on the same cycle)
  • keeping detailed equipment logs and retirement schedules where necessary, e.g. rope use – dynamic and static
  • keeping registers/log books for each vehicle and include details of inspections, damage, repairs and maintenance

Retirement

Retiring equipment should follow clear guidelines, e.g. some safety equipment may need to be destroyed to prevent future misuse. Safety equipment for staff and clients is expensive and often retirement of equipment is a tough decision for outdoor centres or climbing walls. You must remember though that client safety is paramount and any accident caused by ignoring retirement standards can result in a hefty claim and even criminal proceeding. You have a duty of care.

Include the following in your equipment retirement process:

  • follow the manufacturer’s recommendations on retirement requirements
  • check with other operators, national organisations or the regulator if a manufacturer’s guidelines are not clear
  • monitor levels and conditions of equipment use and storage, all of which may influence retirement dates.
Posted on

Personal Protective Equipment (PPE) & Papertrail

All adventure activities personal protective equipment (PPE) requires inspection prior to and after use. Therefore, all personnel who use PPE should be able to inspect their own equipment and the equipment used by group members and clients who they are responsible for to ensure its safe condition before use. Some relevant areas for PPE inspection are outlined below.

For those of you familiar with PPE inspections and PPE inspection systems they can seem to be a ‘tick the box’ exercise when the inventory is seemingly endless in large centres. It may entail paper based system with faded equipment serial codes and lots of manual handwritten data. Tedious, costly and labour intensive might be three words that spring to mind for adventure centre owners and instructors. So is there an easier route?

Try combing Tough Tags gear labelling with the innovative inspection management system of Papertrail. Check out their free guide to improving your adventure centre or Climbing Wall safety system. Papertrail is designed for managing PPE and Health and Safety inspections and it does so in an easy and straightforward way. It can be pricey once your inventory increases in size and you may discover you never realised how many bits of gear you had. However, having an accurate digital record with proven history may well come in useful if an accident takes place and a potential legal process is started.

Legislation and management systems:

Equipment inspection and selection:

  • Inspection techniques
  • Failure criteria
  • Common failures
  • Obsolescence

Care, maintenance and storage of the following:

  • Helmets (including water activity helmets)
  • Ropes
  • Harnesses
  • Connectors
  • Slings/anchor strops
  • Ascenders
  • Descenders
  • Belay devices
  • Energy absorbing devices
  • Buoyancy aids
Posted on

Adventure Centres – Safety Management Systems

How to structure your centre’s SMS

Framework resized for image

A Safety Management System (SMS) in Adventure Centres include your safety culture and it also encompasses the documented system used to direct how you manage risk in your adventure centre operations. 

The content of your SMS documentation is driven by:

  • the context and purpose of the operation – what is your centre’s function?
  • the results of your risk and hazard management processes
  • industry good practice and any legal requirements that may affect your business

To be effective and useful, your SMS must be driven by a strong safety culture and have regular reviews throughout the year.  

This section looks at structuring, documenting and reviewing your SMS

Structure

An SMS can be structured in a variety of ways. A common approach is to separate the policies from the operational procedures by using a Safety Management Plan and standard operational procedures (SOPs), forms and checklists.  The structure you use must suit the complexity of your operation and the amount of risk involved. It must also suit your work team and any external auditing requirements that may affect the business.

Safety Management Plan (SMP)

Your SMP is at the very heart of your SMS documentation. It describes your plan for managing and improving safety across your entire operation. It includes your health and safety policy, the safety processes and should reference all your operational documentation such as standard operating procedures (SOPs), forms and checklists.

The SMP is the document your adventure centre safety auditor will use as the basis for reviewing how you manage safety in your operation.    

SMP COGS

Standard Operating Procedures (SOPs)

SOPs include detailed operational information that identifies risk for specific activities and describes how they will be managed in the day-to-day running of an operation. They may also sometimes called Activity Plans/Activity Management Plans. SOPs are the backbone of a safe environment for staff and clients alike. Once staff start to vary the SOPs that is when issues begin to arise. Differences in knots amongst staff can cause a visual check to be incorrect and result in a fatal accident.

SOPs tend to fall into two main categories:

  • activity specific – How to set up and run the leap of faith. What to do when an accident occurs whilst hill walking.
  • associated operational areas, e.g. staff induction or client pre activity briefs with risk acknowledgement forms.

Safety Forms & Tools

Safety forms and tools are used to gather, record, and provide safety information. They are often useful for ensuring that SMP policies are followed. They should also be referenced in the SMP.

Examples include staff induction checklists and staff training records, a booklet or whiteboard for hazard updates, staff meeting minutes, activity risk registers, risk assessments and management strategy forms (RAMS), trip reporting forms for activities such as Gaisce awards, incident/accident reporting forms, near miss reports, signage and client briefing videos.

Documentation

You need your staff to buy in! Involve your team as much as possible in the development of your SMS. Not only do they hold much of the information about safety, but the system must work well for them. Its a feedback loop and your staff are the eyes and ears on the ground with the best view of hazards that may need attention. 

Tools & Templates 

Forms and checklists and examples from operators and other sectors can and should be researched online and from sources such as governing bodies so that the solutions your business needs are met to adhere to the regulatory audit requirements. They are also useful for developing a SMS for all other adventure activity operations.

Deciding what should be covered by your SMS 

  • know the purpose of your operation – does it vary for different participants or activities?
  • know your legal requirements
  • use risk management processes to ensure you focus your attention on the most important risks
  • check good practice information from sources such as Mountaineering Ireland
  • identify the specific activities and jobs within your operation e.g. watersports, guiding, high ropes operations
  • Think of roles covered by outsourced freelancers, contractors, volunteers and trainees
  • consider different locations where you undertake your activity – onsite or hikes offsite
  • consider seasonal differences eg winter and summer risks vary
  • look at the approach taken by other operators running similar activities. We are a community and an unsafe operation damages all our businesses.

The Devil’s in the Detail

Keep your system clear and simple but provide enough detail so that it’s useful. Your system needs to work well for your team and be tailored to fit the specific context of each activity that your organisation runs. It also shoiuld be dynamic and subject to regular review.

  • Clearly differentiate your non-negotiable ‘must-do’ procedures from those where you allow greater degrees of individual judgement and initiative
  • Describe what you will typically do (don’t include things that you won’t actually do)
  • Use language that works for your team. Keep it clear, simple and consistent. K.I.S.S. (Keep it simple)
  • Avoid large blocks of text – use bullet points, check boxes, maps, flow charts, images etc.

A diagram that shows the structure and components of your SMS is a useful  tool for communicating your system to your staff..

Document control

Your SMS documentation needs to be current and accurate to be safe.

  • keep track of page numbers, file name, version numbers and date  next review dates
  • include the version number of the document in the title and only have the current versions in circulation
  • use consistent and clear document names, including appendices. It should evolve clearly and in order
  • clearly show when your documentation will next be reviewed – internally and externally. Whats the plan? Be time specific.
  • state where your documents will be kept at your business (hard and electronic copies, back-up copies, archives etc). There is no point in filing them away inaccessible by staff for fear they will copy them!
  • know how amendments will be made and tracked including who is responsible for signing off changes and preventing use of out of date versions with regard to SOPs etc

Create a section in your SMS that outlines:

  • appendices 
  • supporting documents and other items
  • who must have access  to the files
  • who is responsible for the documents
  • where they are stored on-site
  • when and how they are to be checked and updated.

Reviewing

Review your systems regularly, using in-house and external reviews from registered professionals. This will help your business to ensure that:

  • over time, your systems are accurate and up to date
  • your systems are outlined accurately in your safety management documentation. 
  • your systems are aligned with industry good practice and any relevant legal requirements 
  • you and your team have a strong safety culture and are ‘walking the safety talk’ 

Someone must have responsibility to ensure that reviews take place and any resulting actions are followed up. 

Even if you are not legally required to have an external audit, it is good practice to have regular external checks of your safety system. 

In-house reviews

In-house reviews cover all components of your SMS, including what you actually do in the field every day. 

This should be a systematic process but does not have to be done all at once, rather it should happen as part of a normal day and via a more formal ‘audit’ style processes. For example a manger led discussion at pre or post activity briefings, staff training, scheduled checks of specific parts of your SMS such as looking for accident trends or mid-season equipment checks. 

  • Make a plan of what you will check. When, how and who is responsible for making it happen. SMART.
  • Reinforce a safety culture that staff are personally responsible for following agreed safety systems
  • Grow a culture where feedback is welcome on anything and everything. They wont get in trouble for identifying risk with a fellow instructor.
  • Make sure that all concerns are addressed and the SMS is updated where needed
  • Do regular reviews at a time that suits your operation e.g. larger audit style checks at quieter times in winter or on bad weather days
  • Consider using a peer review e.g. a reciprocal safety system check with another operator. Team work!
  • Encourage and take into account client feedback. They are experiencing the process and have a unique and valuable perspective.
  • Factor-in learning from previous external reviews and technical advisor reports.

Involve your team but there must be someone responsible for the review, they must be competent for this role, experienced and be well supported by senior leadership. Owner operator businesses may use an external technical advisor. 

What to check

Your safety system checks should, over time, cover all aspects of your SMS and include:

  • checking your systems against external measures such as activity safety guidelines recommended by governing bodies, audit standards and current legislation requirements
  • triggers for an internal safety check including key staff changes, hazard changes, near misses, incidents, new or changed activities, changes to legal requirements
  • observing your staff on the job. Are they following agreed procedures, and if not, why not? Don’t get lax.
  • analysing your incident data with all staff to remind them of previous incidents, what actions were recommended, look for trends and ensure that correct follow-up action has been undertaken. Why do seemingly non risky activities such as orienteering have far more incidents than seemingly risky high ropes activities.
  • checking SOP’s, forms and other similar safety tools. Are they correct, useful and being used as initially intended?

Documenting your reviews

Documenting your reviews is important. Use methods that suit the type of review e.g. keeping a copy of trip report forms, near miss forms, accident reports, or recording a more formal review of your staff induction system. Records should show:

  • Who was involved in the checking process
  • When and which areas of your centre’s SMS were checked
  • How did the checking occurred e.g. by observing staff running an activity or by reviewing checklists and forms
  • What actions resulting from the checks, and details on when and how they are followed up. Did you change your SOPs?
  • When and how your operation was checked against external measures e.g. activity safety guidelines or an audit tool

External Checks

Use professionals in your business. External checks range from regulatory to voluntary audits, or using an external safety advisor to come and review a part of your SMS. Note that it is considered good practice to have an external safety audit even if you are not legally required to do so.  

To get maximum value out of an external check: 

  • organise it well in advance and for a time that suits your operation
  • select an audit provider that suits your needs and your operation
  • contact your auditor early to ensure that you both have all the information you need, including their audit criteria
  • Try to know the audit standard that you will be checked against and use it to do your own internal check before the audit
  • know the key areas where you would value a professionals advice and ensure you draw on your auditor’s experience to get the answers you need to create a safe culture
  • ensure that as many of your team are on-site as possible, especially key staff. Lets learn together.
  • allow time for required follow-up actions and audit completion
  • many of the components mentioned under ‘in-house reviews’ will apply here as well.
Posted on

Petzl – Access the Inaccessible

Ropes Course Gear

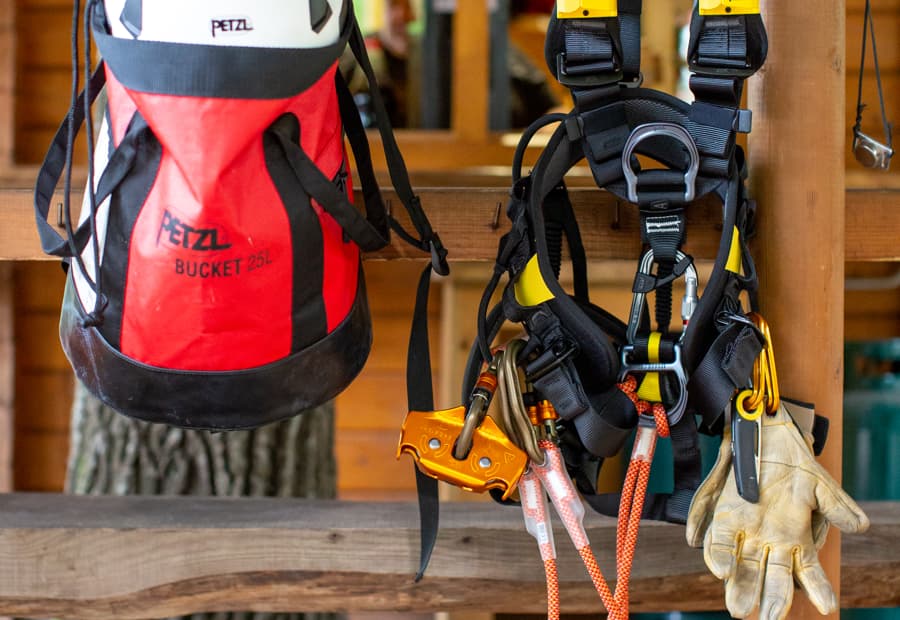
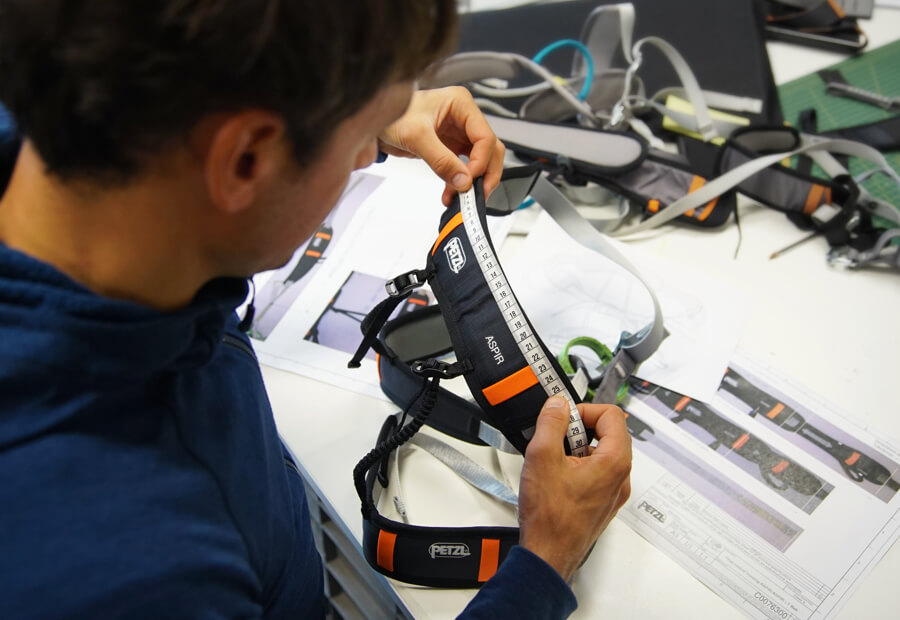
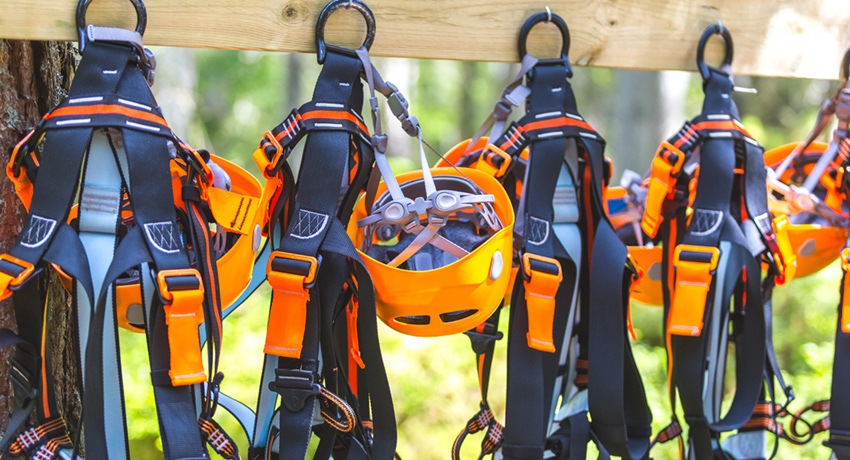
Adventure parks are an introduction to the vertical world. By taking on this new perspective, young and old alike can feel challenged, entertained and amazed. Our mission is to provide you with top quality equipment and your clients with an exceptional experience. Our equipment for adventure parks is designed so that you can offer your clients the best possible service. It must be durable and practical, and should make your day-to-day routine easier. For your users, ergonomics and comfort are essential. Petzl products are designed to meet all these needs.

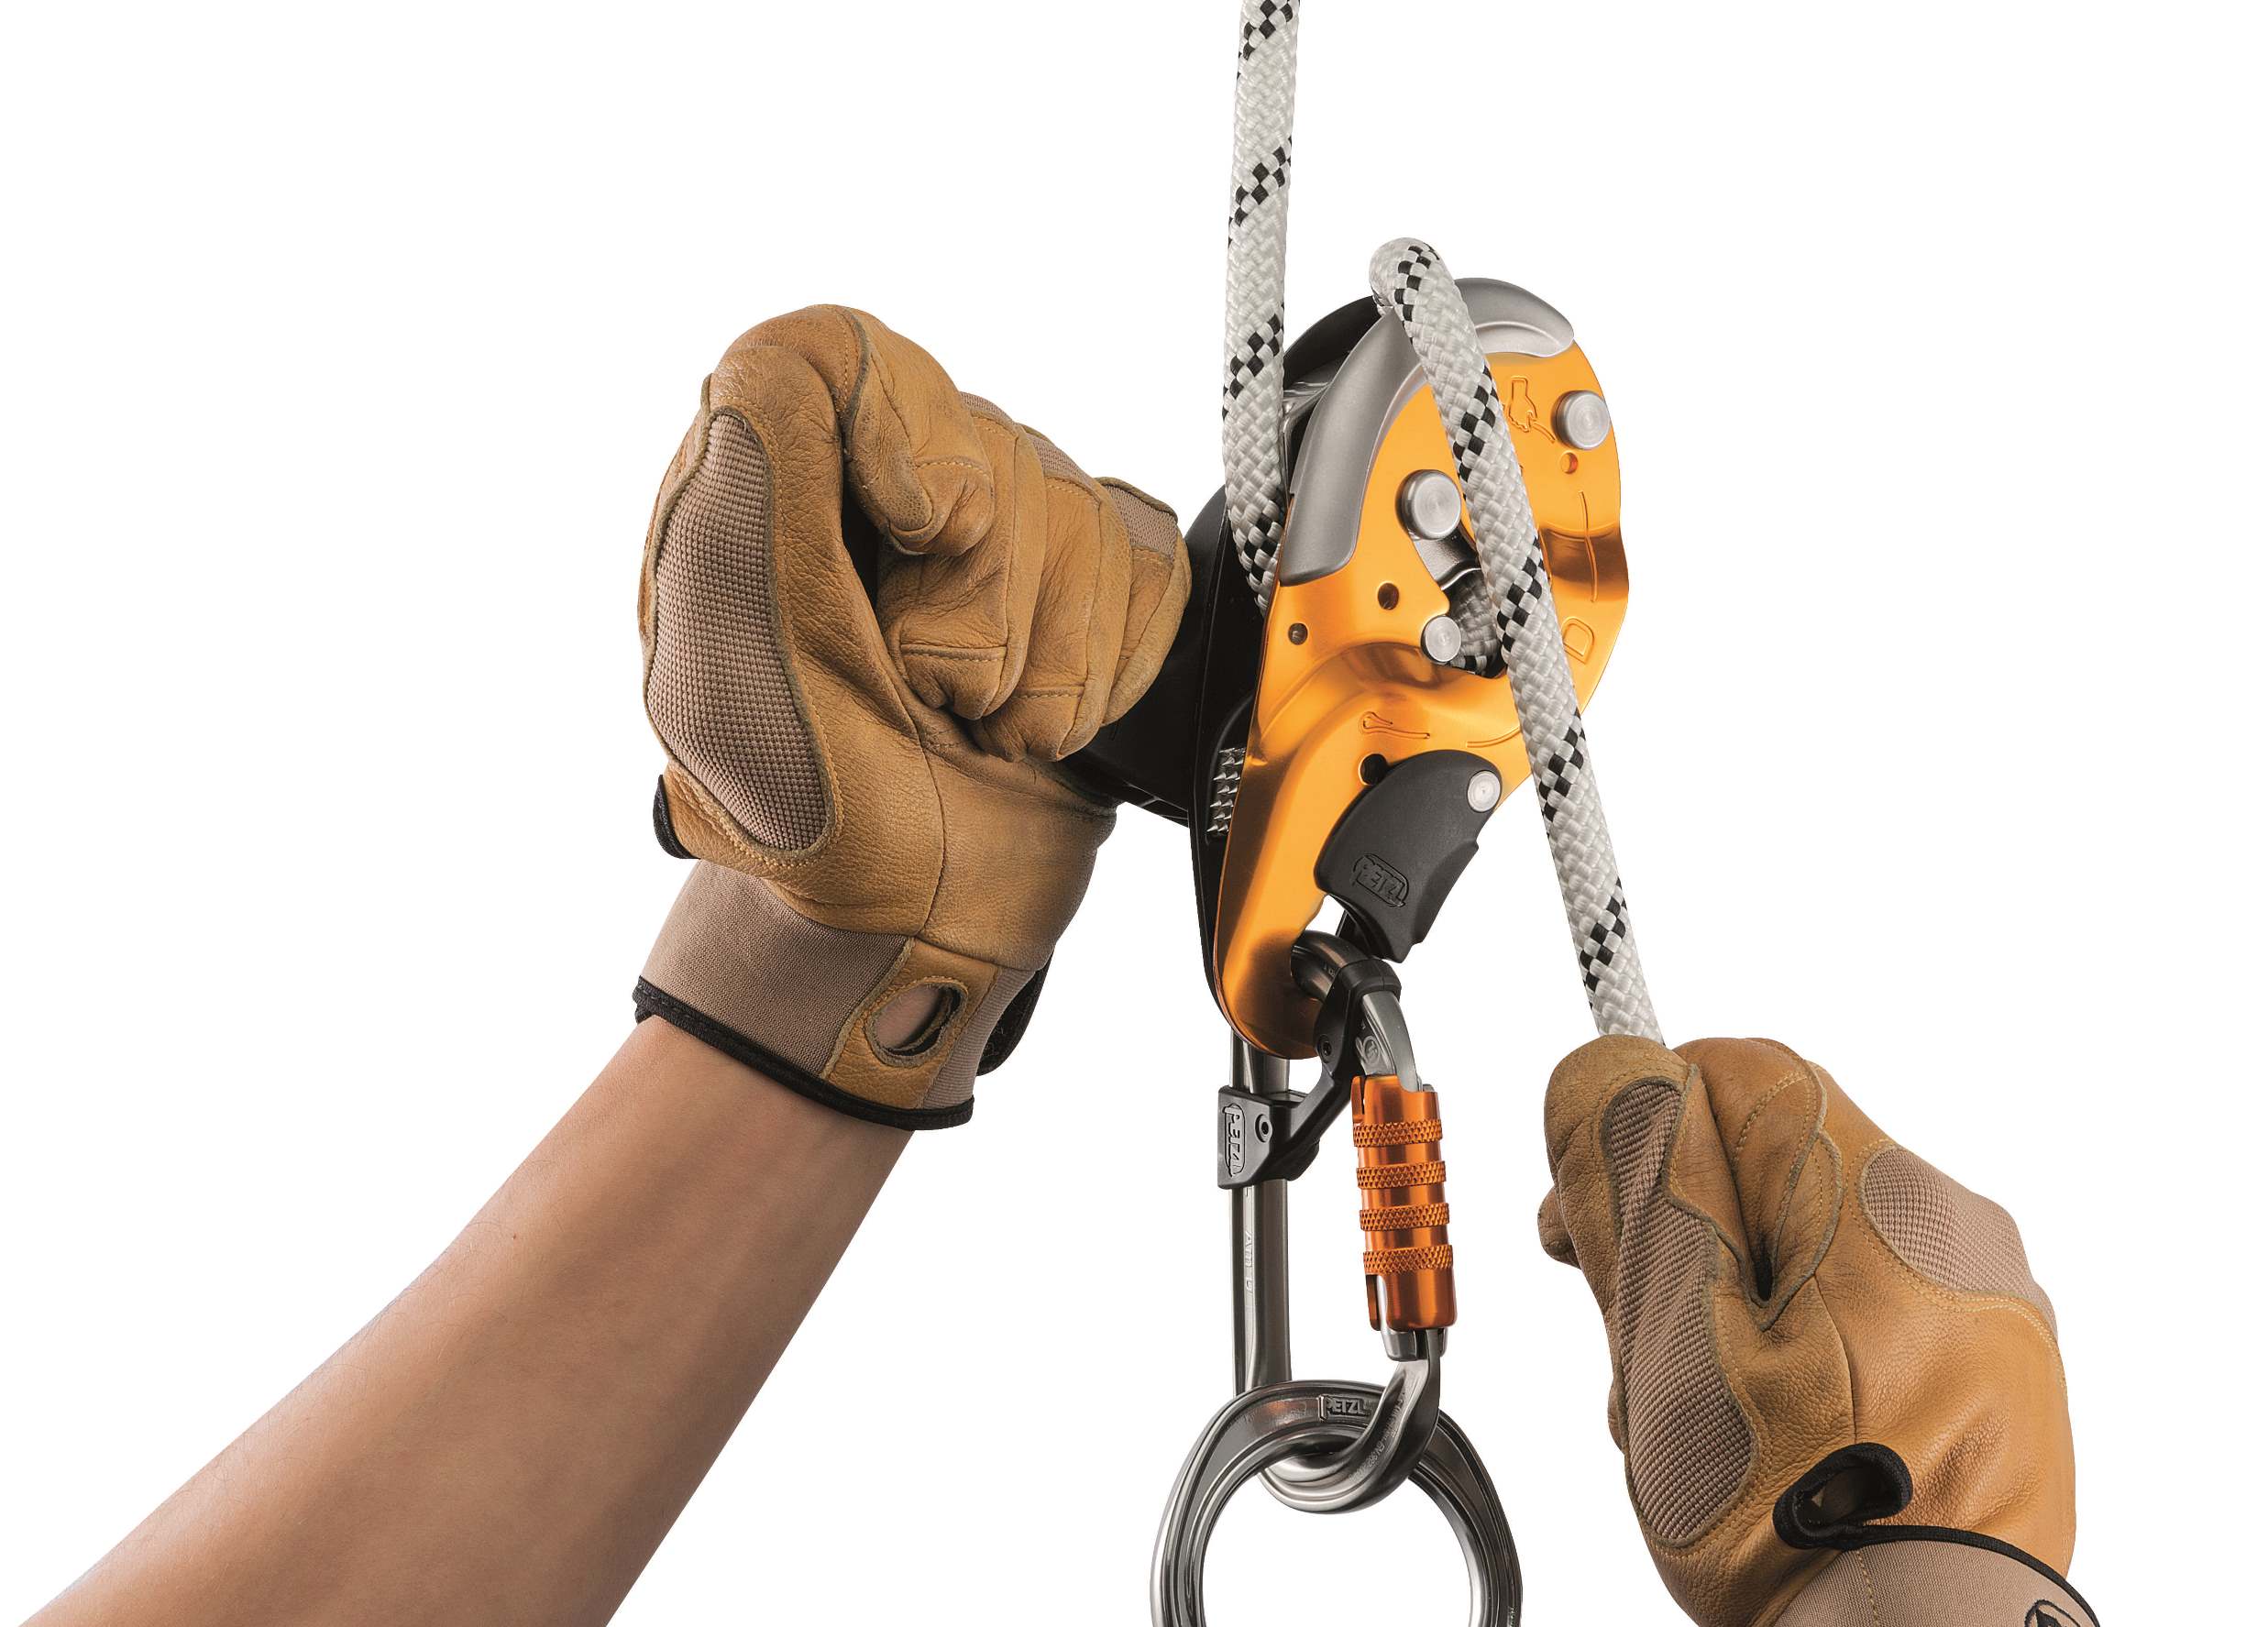
Discover the Petzl range of safety gear for staff, with the new JAG RESCUE KIT with I’D EVAC, which allows easy and rapid evacuation of a person in trouble. The STRATO VENT helmet offers optimal stability and comfort, for use throughout the day. Designed for your clients, the new PANJI harness was designed to be durable, simple to use, and easy to adjust. Its stainless steel DOUBLEBACK buckles and thick webbing provide great strength, for intensive use, even in damp or salty environments. Find a selection of these specifically targeted products in this new brochure for 2019.

Happy reading. See the Petzl range here.